Overview
ISL Conference Proxy (ICP) is the main hub through which all ISL remote sessions are securely established. By installing ISL Online on your server(s) you can meet strict security requirements, and enjoy privacy and full independence. Since all remote connections are then established through the server(s) in your company, all data such as user information and session history is kept in a closed corporate environment.
Hosted vs. Self Hosted
ISL Online license comes in two options:
- Public cloud
- Self-hosted server ICP (ISL Conference Proxy)
In both cases, the user needs to have a registered main account on islonline.com where they can manage the licenses and other settings. The public cloud user can manage everything via a web account, while a self-hosted user manages only the account owner information and server license purchases. After installation, all the server configurations and user/computer management are done on the actual server.
Server Name
DNS name is recommended over IP address when specifying server address in server definition, especially if it will be used outside your local network (LAN). Specifying a separate internal address or using an IP address instead of a DNS name is no longer officially supported. There are many possible negative consequences if you decide to do this, the main three being:
- Two different connection addresses depending on your location
- A very difficult migration
- Issues if you need to enable SSL on your server
Technical support for such deprecated setups will be limited and you will be asked each time to consider switching to a single DNS address as soon as possible.
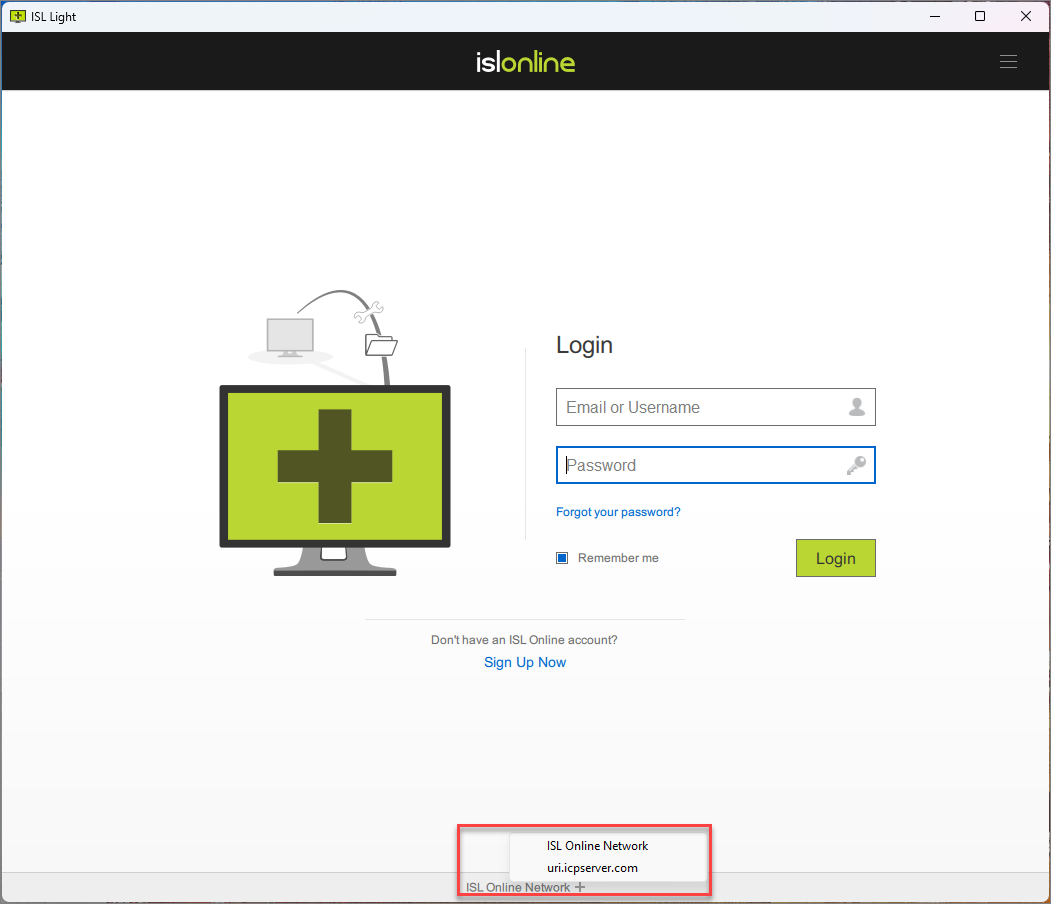
It is possible to use the ISL application downloaded from the public server for connecting to the private server, but the private server address needs to be manually added to the application's server list ("+" icon at the bottom of ISL Light login window).

Downloading Products
The ISL applications (ISL Light/Client, ISL AlwaysOn, ISL Pronto, ISL Groop, ISL Tester, ISL Player) can be downloaded from our public servers, but they are also included as part of the ISL Conference Proxy in which case the private server address is already embedded into the installation file.
In the case of mobile applications (ISL Light for iOS and Android), the downloaded app from the mobile store comes with the public server address, which can be manually replaced with your private server's DNS/IP address.
ISL applications can be obtained in three ways:
1. Network Start (identified by /start in the file link) will start by downloading a small startup file from ISL's Downloads page, which will then download the rest of the application during installation.
2. Download (identified by /download in the file link) will download the complete application, which can also be moved to another PC with a slower connection or strict inbound firewall rules. This method is also important when using deployment tools.
3. Joining a session works by the client opening the page Join a Session and entering the session code upon which the startup ISL Light Client will be downloaded with the embedded session code.
Knowledge Base
User Types
ICP uses three different user types:
- Server Administrator - logs into the server configuration page only, where they manage all server settings. Cannot open remote sessions.
- Domain Administrator (also available for hosted users) - logs into the webpage and manages users and computers in the same domain as well as opening remote sessions.
- User - logs into the webpage where they can manage their own computers and depending on their permissions also the Administration Module.
Video Tutorial
Settings
Settings Types
ICP uses three different (hierarchical) setting types:
- Server Level (global, applies to all users)
- Domain Level (applies to all users within a domain, more specific than Server Level setting)
- User Level (applies to a single user, more specific than Domain Level setting)
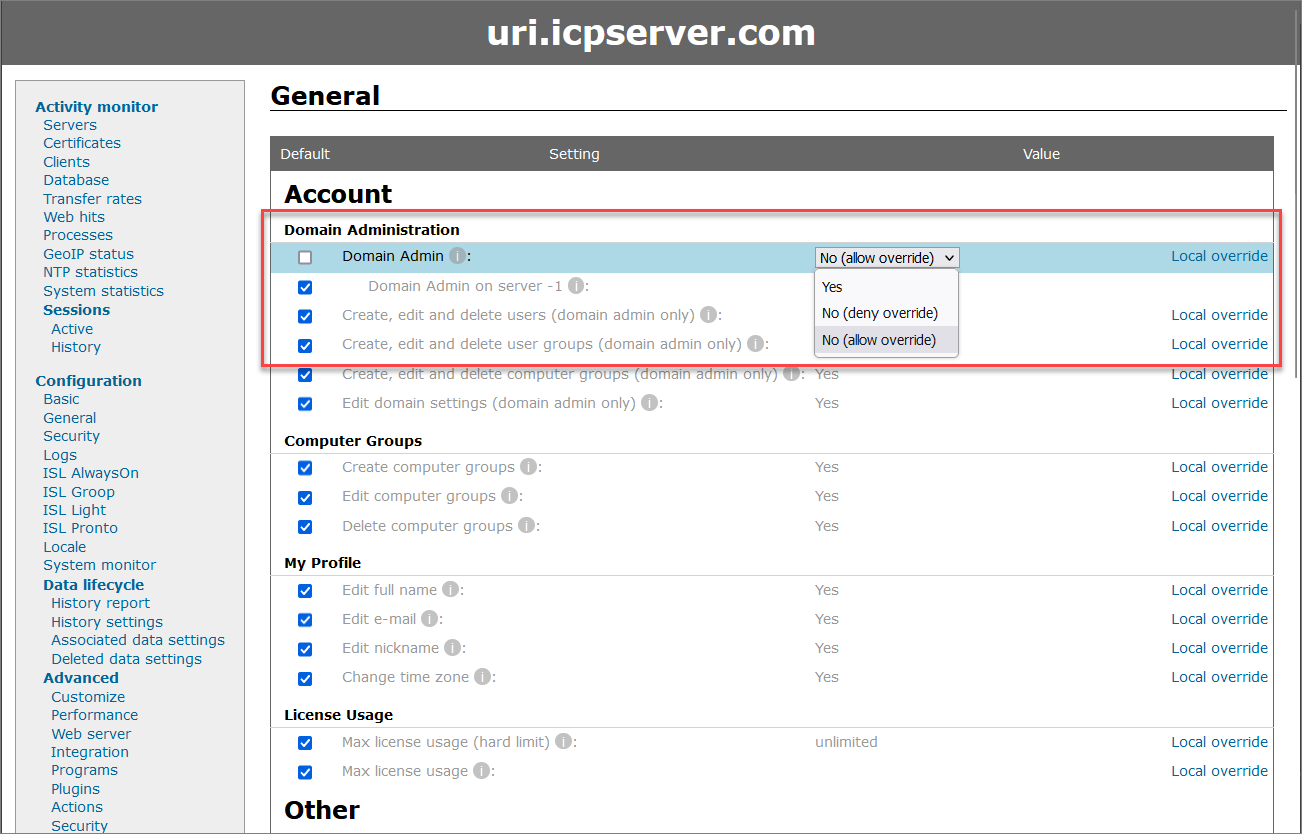
Note: A more specific setting takes precedence over a more general one unless the more general setting is set with the "Deny Override" option.
Changing settings
All settings in the Server Administration have their default value, which can be changed by the server administrator.

Before changing the individual setting, the drop-down menu, or the input field, the change needs to be enabled by clearing the checkbox in front of the setting. Finally, you need to click the "Save" button at the bottom of the page to save any changes.
Local override
This setting is used in a GRID environment, where you wish to set an option for a certain server only while keeping the default settings for all other servers. If you are not using GRID, then changing options with the Local override option has no effect.
Installation procedure
Before install
- Hardware considerations are important since you won't be making any changes for a while. ISL Conference Proxy supports Windows and Linux operating systems with recommended multi-core CPUs, x64 processors, 3 GHz, and 4GB RAM. For more detailed server and bandwidth requirements take a look at Server Requirements.
- Decide on the location of the server (at the office or rented cloud space). Also, consider if you need more coverage, which would require more servers in a GRID setup to eliminate a single point of failure. If you would like to avoid the hassle of managing the server(s) yourself we recommend Managed Private Cloud.
- Consider network architecture depending on whether ICP will be used only in a local network setup or also available over the public Internet. In case of public access, we recommend setting up the firewall or DMZ.
- Choosing IP vs. DNS reservation is directly tied to the above use case. We strongly recommend the use of DNS in the public scenario since unexpected IP changes can create downtime. Check with your DNS administrator regarding the chosen DNS name and make sure that the appropriate DNS records have been added to the appropriate DNS servers so that it resolves to the appropriate IP address.
- ISL Account can be set up with a free self-hosted trial.
Install
- To install a server license, first define the server, then create a packet.
- Install the server by downloading and running the installation application.
- Assign the license to the specified server to a previously defined server (this step can be skipped for server trial users).
- Verify setup:
- For common issues check ISL Conference Proxy FAQ.
Video Tutorial
After install
- Access Server Administration - here you can tweak global settings, create users, and manage the whole setup (Grid, Logs, Reports, Updates...). Accessible to Server Administrators
- Access Domain Administration (Admin module) - part of the My Account which enables "Domain Administrators" to manage users, computer groups, user groups, and various settings for ISL applications within their domain. Accessible to Domain Administrators
- Access My Account (User Portal) - available to all users that do not have access to the Server Administration. User interface and functionality are the same for users of Cloud and Self-hosted licenses.
- Then you can test the ISL applications by installing them and opening a remote session. For example, connect via a session code and/or set unattended access.
- If you would like to use a secure website access ICP comes with a free self-service SSL Module to issue and renew certificates.
- To keep your ICP data safe, the ICP server also includes a Backup Module for creating, editing, and restoring backups.
- Look also into costumization options for ISL AlwaysOn, ISL Pronto and ISL Groop.